
There may be any number of reasons to include images in your outgoing emails. Maybe you'd like to include social media links below your signature, maybe you'd like to include a banner image above your outgoing email, or maybe you'd like to include an illustration or graphic within the body of your message.
Within casework, you are able to include images using the HTML editor. You will need an image, and you will need to host that image online so it has a unique URL.
As an example, the iConstituent image above this article is hosted online at https://p6.zdassets.com/hc/settings_assets/454963/200010544/wLooTM9u6y1qG3Ppwapf1g-unnamed.png. You can find the URL of an online image by right-clicking and selecting "copy image address."
NOTE: You may need the assistance of your communications team or web vendor to initially host the image on your website. You should only link to an image that is hosted on your own site as you do not have control of whether or not the image will remain in that location.
Once you have the URL, then you are ready to add your image.
- Log into the CRM and locate the letter you'd like to update.
- If this is a header or a footer, it will be located in the Narratives folder in the Letters module.
NOTE: If you are changing a header or a footer for the entire office, make a copy of the existing header and edit the copy so that users can continue sending out letters with the original header/footer until your changes are complete. Then they can update the footer in their user preferences.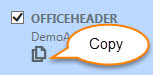
- If this is a form letter, it will be located in the All Letters folder in the Letters module.
- If this is a quick letter, you will complete these steps when you are ready to send out your email.
- If this is a header or a footer, it will be located in the Narratives folder in the Letters module.
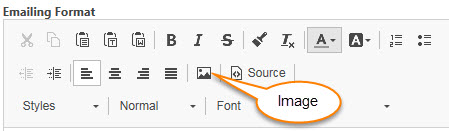
- Once you have located your letter, click "Edit" (or "Compose" if this is a one time email).
- This will open the editor. Place your cursor where you'd like the image to appear, and then click the "Image" icon.
- The Image Properties dialog will open.
- Paste the "URL" into the URL field.
- Specify width, height, border, spacing, and alignment as needed.
- If you'd like the image to link to another web site, then select the Link tab.
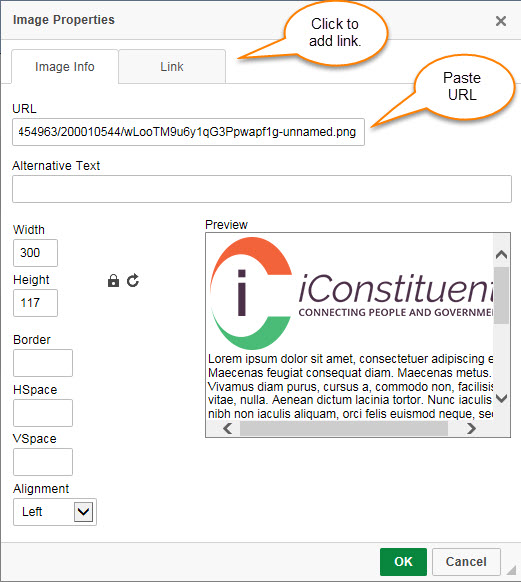
- Add the URL you'd like it to link to and set the target to open in a "New Window."
- Then click OK.
- If you need to make additional edits, right-click on your image to re-open the properties window.
- Save your changes.
- Test your new letter.
Comments
0 comments
Please sign in to leave a comment.