Saved searches allow you to create complex queries to mine contact data in your database
Creating a Saved Search
Start by navigating to the Mail module.
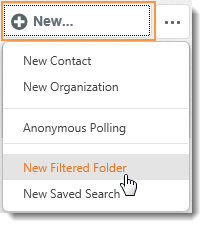
- Click New above the left navigation panel, and select either New Saved Search.
- Give it a Name and a Description. For example, Name of South East Washington with a Description of Zip Codes 20001 to 20010.
- You can choose to share your filtered folder or saved search with another staff member by making it public to share with all staff or by selecting user names from the drop down to share with specific staff members.

Adding Groups and Filters
You can now begin creating your query by adding groups and filters. Every filtered folder and saved search will have at least one group and one filter. A group can contain multiple filters, and multiple groups allow you to build more complex queries using an “All of (AND)” or “Any of (OR)” group operator.

- Start by selecting your multiple group operator. “All of (AND)” means that your results will have to meet all of the criteria in all groups. “Any of (OR)” means that your results can match the criteria in one group or in another group but don’t have to match both.
- Click the Add Group link in the bottom left of the form. This will add a group with one filter in it.
- Start by selecting your multiple filter operator which displays just above the first filter. “All of (AND)” means that your results will have to meet all of the criteria in all filters within this group. “Any of (OR)” means that your results can match the criteria in one filter or in another filter but don’t have to match both filters in this group.
- Select the correct criteria for your first filter.
- Depending upon your selection, you will have several choices of operator such as “Equals,” “Between,” “Is Empty,” “Is One Of,” “Is Not One Of,” etc. Select the correct operator.
- Depending upon your operator, your next field may disappear, it may prompt you for a date, or it may provide a lookup window to search for codes. Complete this field with the correct information.
- Continue adding filters and/or groups until your query is built, and then click Save.
Viewing Your Results
Your filtered folder or saved search will now be saved. Filtered folders will appear below whichever folder type you selected. Saved searches will appear below the Saved Searches folder. The main folders can be collapsed by clicking on the orange arrow that appears next to the folder name.

Select your new Saved Search from the left navigation panel, and your search results will display in the main interaction panel. From there, you can work with the records.
NOTE: If this is a Saved Search, the search runs when you save it. If you need to run the search again, click the "Refresh Data" option at the top of the screen.
Exporting Contacts in Your Saved Search
Select your new Saved Search from the left navigation panel, and your search results will display in the main interaction panel. From there, you can work with the records.
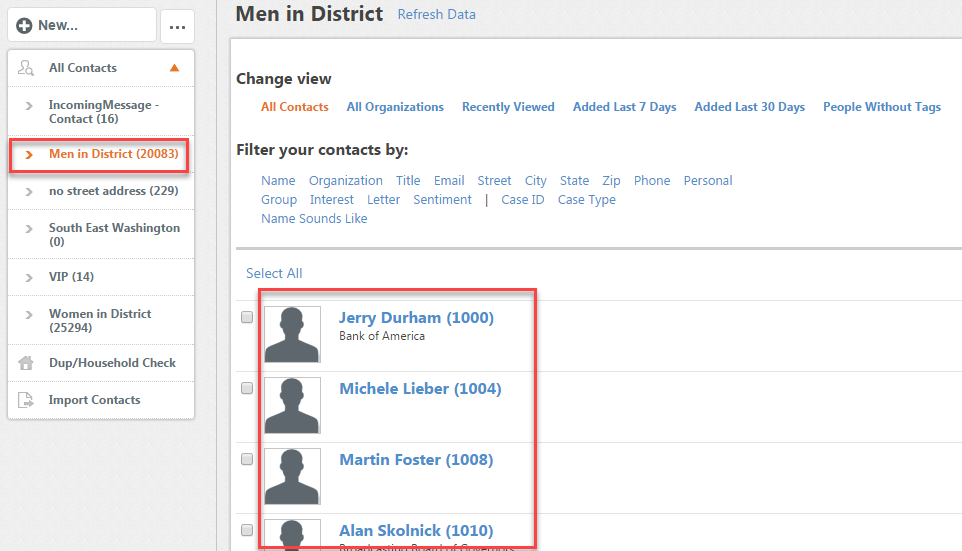
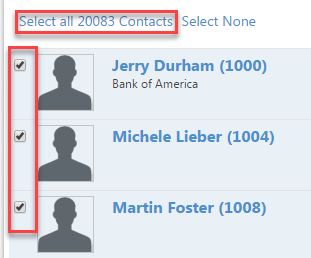
Click the Select All link. The checkbox to the left of your contacts should "check" for the first page only.
To select all contacts, click the Select All #Contacts link.
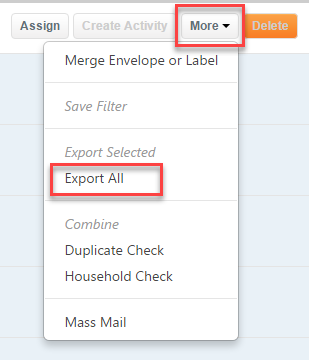
From the More button, select Export All.
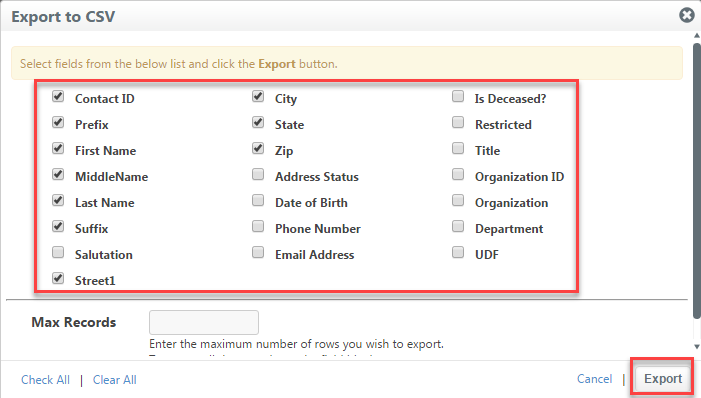
The Export to CSV window opens.
Select the fields from the list you wish to export, click Export button.
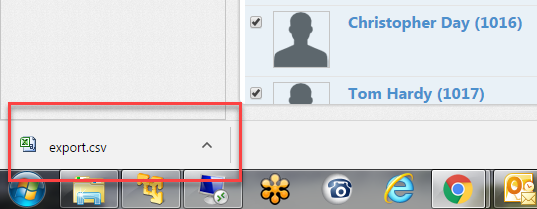
File will download, click to open spreadsheet.
Editing Your Saved Search
If you need to make changes to a query, click on the "Show All Folders" icon located above the left navigation panel next to the New button to show all folders.
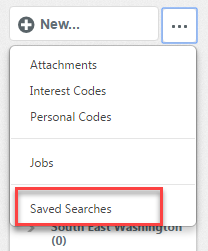
- Select Saved Searches.
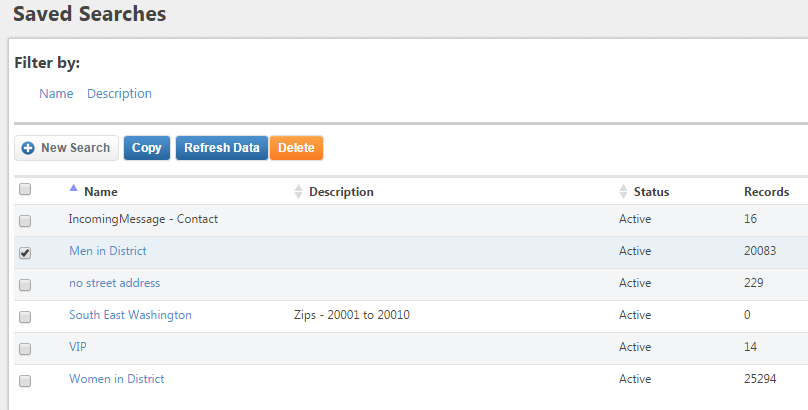
- All of the existing saved searches will be listed.
- To delete, check the desired folder or search, and click the orange Delete button.
- To edit, click the name of the desired folder or search. This will open the search so you can change filters, share with others, or edit the description.
- After making your edits, click Save to update your query. Then close the list of saved searches with the X in the upper right. You will be returned to your previous screen.
Comments
0 comments
Please sign in to leave a comment.