When you first login, you will be on the "Home" landing page. This page will give you an overview of your office’s correspondence and casework activity for the past month.
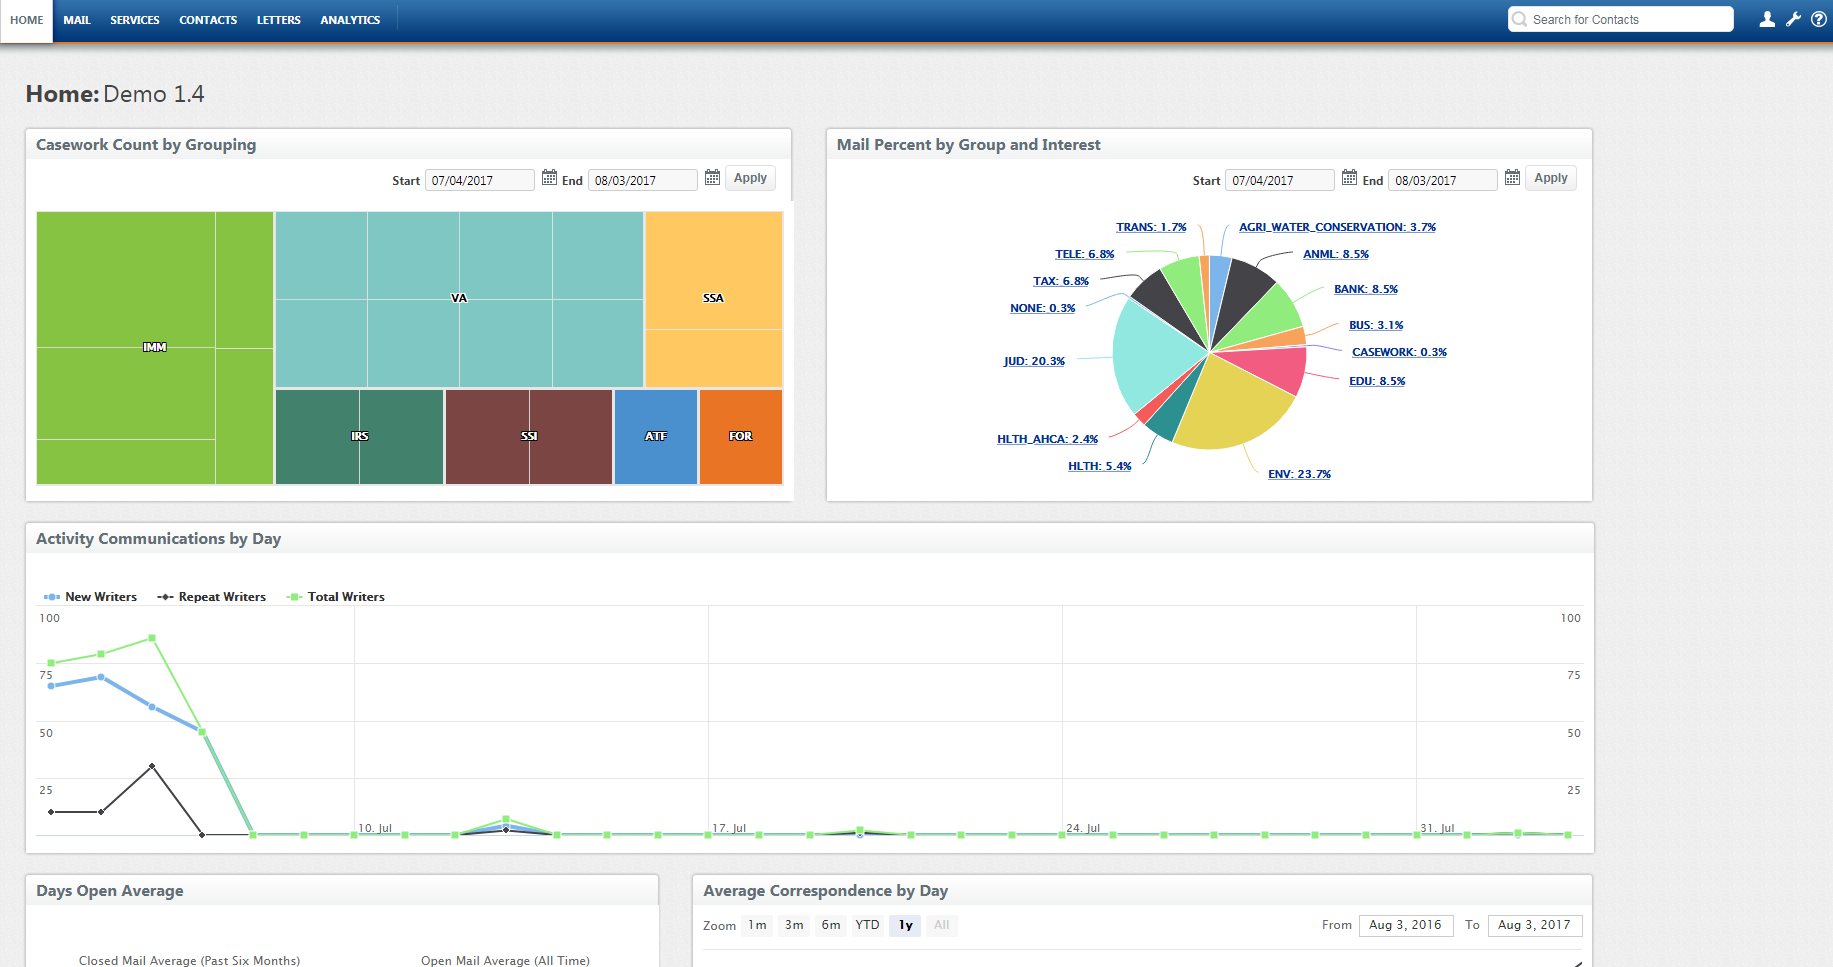
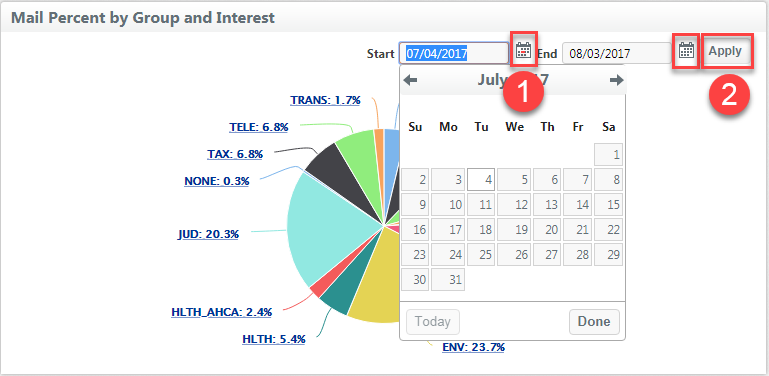
The stats display date for a date range for the prior 30-days. You can adjust the date ranges using the datepicker above the statistics to see changes in the information. Select the correct date range and click Apply.
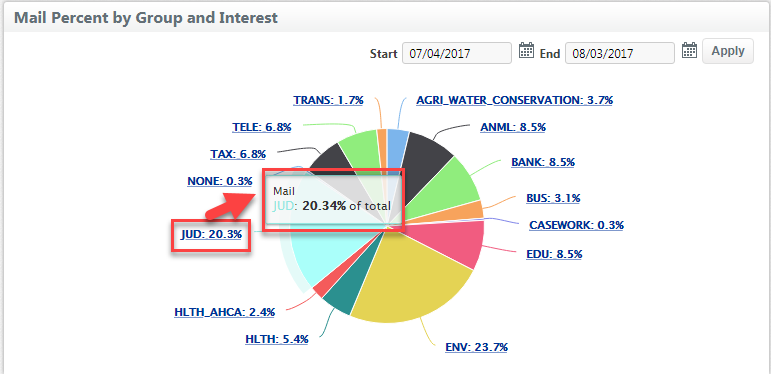
Hover above graphics to see more more detailed information.
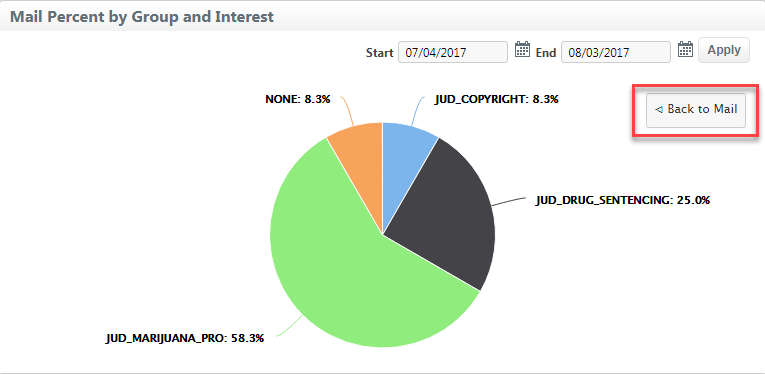
Click to view even more detailed information
Moving to other Modules
The Top Navigation menu lists all of the main areas (modules) of the application:

- Mail: This is all of your legislative correspondence. In this section, you have access to your assigned mail, the inbox, all of the office’s open mail, the document search, scanned documents, and polls.
- Services: This is all of the constituent services. You’ll see the cases assigned to you, all the open cases for the office, as well as all of the flag and tour requests for the office.
- Contacts: This area allows you to work with the entire database of contacts in the system. You’re able to search for contacts by multiple criteria, save your searches, create correspondence, upload lists, export lists, and perform a variety of other tasks.
- Letters: This contains all of the office’s form letters. You can write new form letters and quickly find recent letters, workflowed letters, letters you’ve written, draft letters, etc.
- Analytics: This area displays all of the analytics for the system. You can pull reports for Mail, Casework, System, and Workflow.
Moving to Other Sections within a Module
After selecting the desired module, you will see the contents display in the interaction grid panel in the center of the screen. You can work with the individual Activities by selecting (clicking) them or you can work with the records in mass by selecting (clicking) them and using the Assign panel on the right.
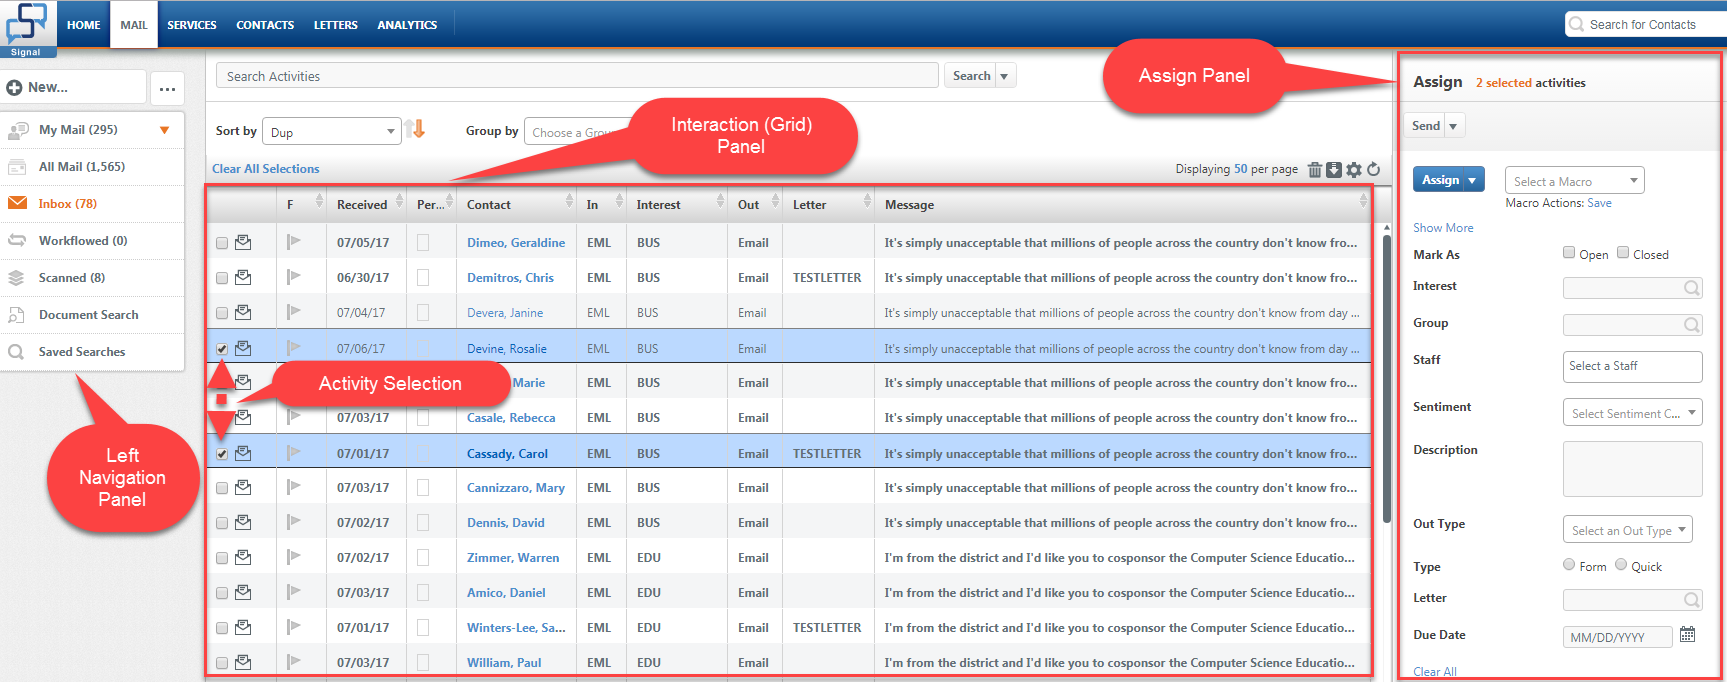
To move to other sections of the module, use the left navigation panel. If you’ve created your own filtered folders or saved searches, they will also appear in the left navigation panel.
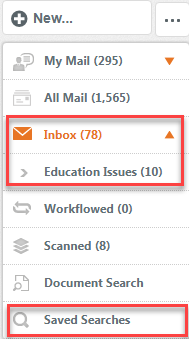
Above the left navigation menu, you will see two buttons. The first is New. Clicking this button will allow you to create a variety of new records, depending upon the module. Clicking New in Mail will allow you to create new interest codes, new print jobs, and other mail related items. Clicking New in Services will allow you to create new case types and new case statuses.
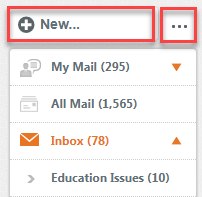
The second button is "show all folders" which looks like […] . Here you can view your complete list of group codes, personal codes, case types, print jobs, etc. and make edits to them.
Top Navigation Actions

In the upper right corner, you will see a Quick Search field and several small icons. The quick search allows you to search the entire database for contacts. The User icon next to the quick search is where you can set your user preferences and default settings. The Gear icon gives you access to user management, printers, and restore records. The Wrench icon provides access to additional systems administration options such as import channels and security roles.
Comments
0 comments
Please sign in to leave a comment.