Headers and signatures are narratives typically included in all outgoing letters. A narrative is a block of content or merge fields that can be embedded into new letters to save time.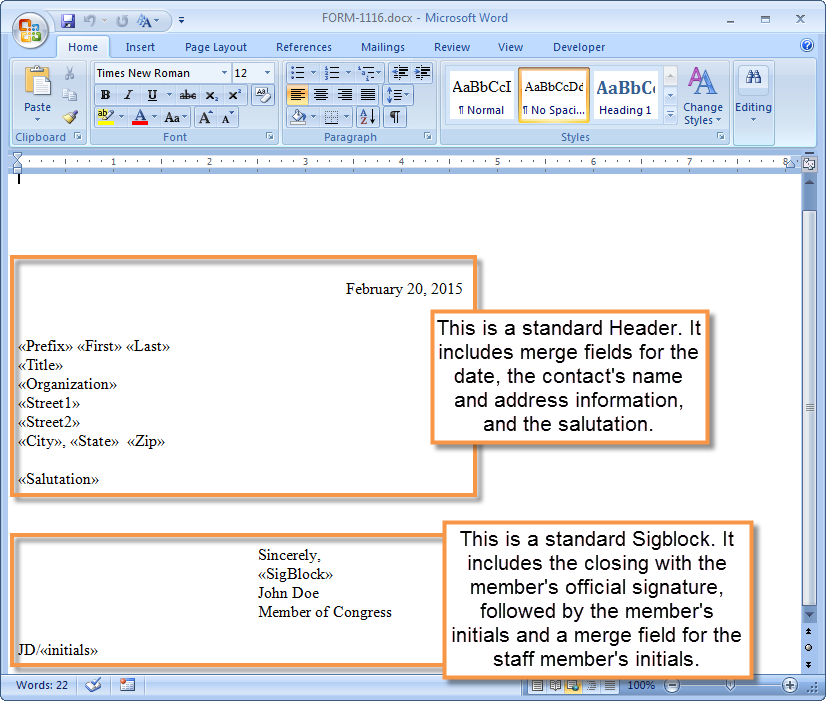
To edit an existing narrative
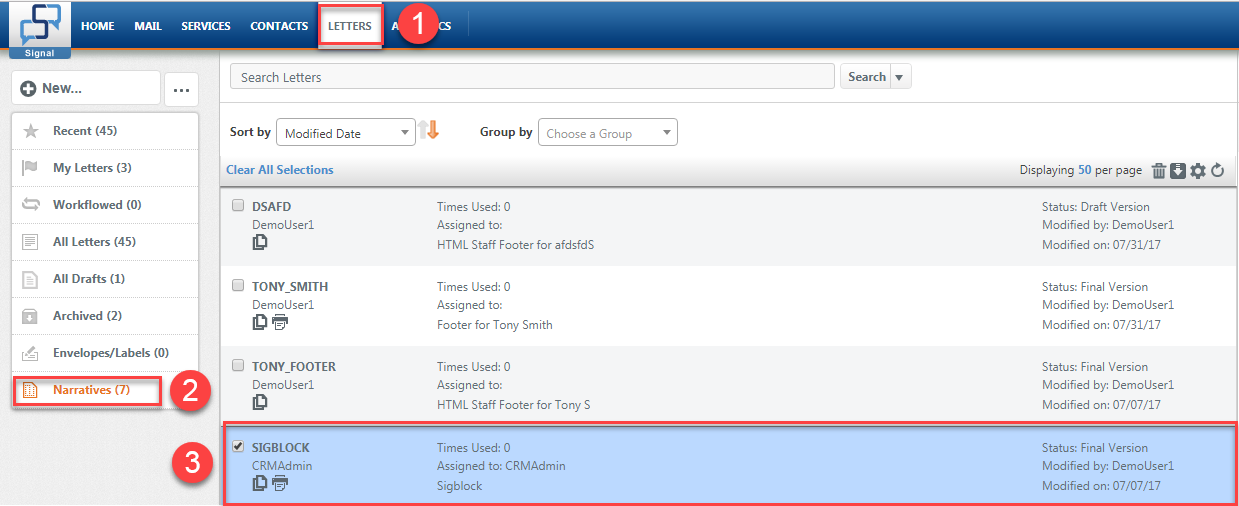
Select "Narratives" from the left navigation menu, and then select the narrative you'd like to edit.
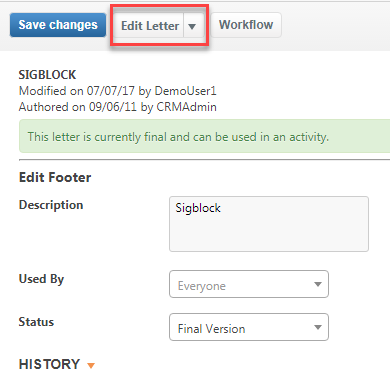
In the right Letter Details panel, click the Edit Letter button.
Microsoft Word will open, make the desired changes.
Save and close Word.
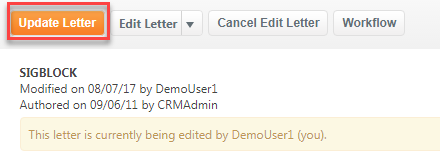
When you return to the "Edit Letter" details screen, be sure to click the orange Update Letter button.
Creating a new narrative
Creating a new narrative is a lot like setting up a new form letter with automatic merge fields.
- Start by going to the Letters module by selecting Letters from the top navigation menu.
- Click the New button on the toolbar.
- When the "New Letter Wizard" window appears, select Header or Footer from your list of options, and then click Continue.
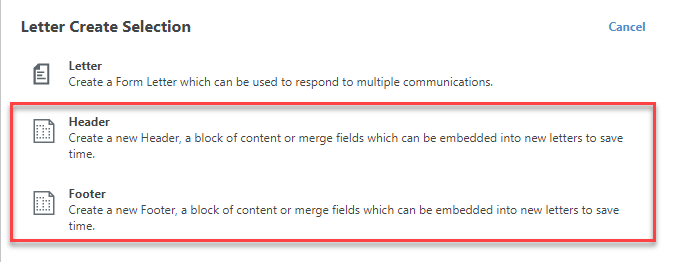
- You will notice that you have fewer options than you do when writing a form letter, but you will still need to give your narrative a name and a description. Then click the Create Footer button.
- Click the Edit Letter button in the top right corner to open Word and begin editing your narrative. Word will open, but it will display on your task bar. Click the Word icon to see your blank document.
- Add your text and merge fields exactly as you want them to appear. (Keep in mind this is only going to be a portion of the letter, so if the narrative is a signature, you do not need to add space to the top of the letter. If it is a header, however, you will want to ensure there is enough space for the letterhead.)
- When you have finished editing, close Word using the X in the upper right. Word will prompt you to save. Click Yes to save.
- When you return to the letter details, you will need to click the Update Letter button just as you do with a regular form letter.
- If you are ready to begin using the new narrative, change the status to a Final Version.
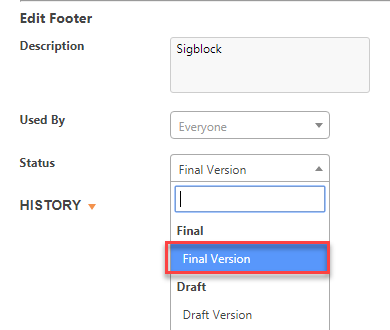
- Then click the orange Save changes button.
Once your narrative(s) have been created, you can choose to use them only on certain letters, or you can change your user preferences so that any time you create a letter it automatically contains the new header and/or signature you created. You are able to set user preferences for both Quick Letter Narratives, which can be found in the "General" section of user preferences, and form letter Narratives, which can be found in the last section of user preferences under "Letters."
If you will just use it once in a while when creating a form letter, then you do not need to change your user preferences. Instead, when creating a new form letter, look at the "Narratives" section of the "New Letter Wizard." See the example below:
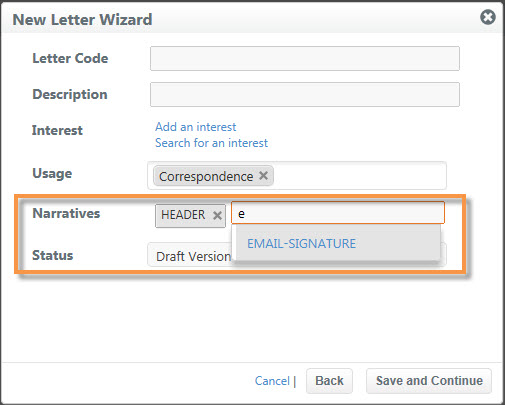
You will most likely already have a HEADER and SIGBLOCK listed in the "Narratives" field. Click the X next to each to remove them. Then click the "Add a letter" link, type in the name of the desired header and select it from the dropdown. Then do the same for the signature.
NOTE: In the example above, even though the SIGBLOCK narrative didn't change, it still needed to be removed so the header could display first. If you switch the order of the narratives, your letter will appear with the signature at the top and the header at the bottom, so make sure you have the narratives listed in the order that you want them to appear.
Comments
0 comments
Please sign in to leave a comment.