While you do have the option to edit an individual user's privileges, it can be hard to track. We highly recommend that you create additional office roles instead, and then apply multiple roles to any users who need additional rights. Unlike a specific user's privileges, roles are easy to identify, can be applied to multiple users, and can be easily removed.
See the following scenario as an example:
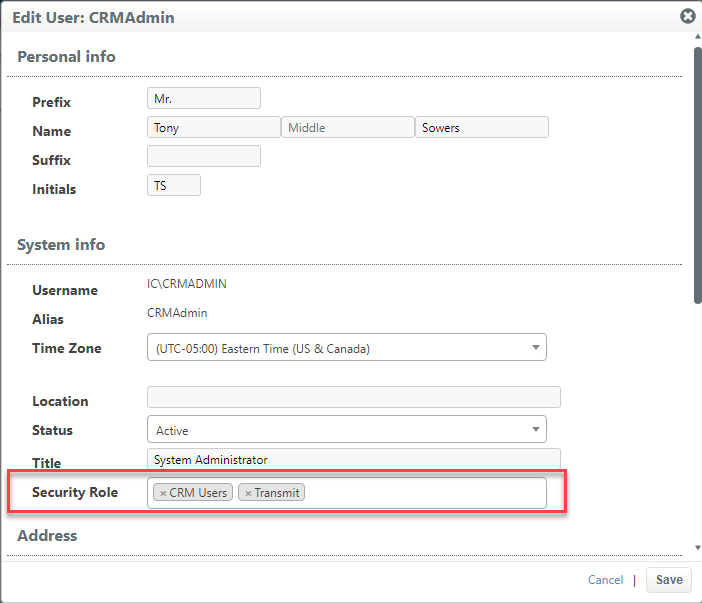
Most staff in my office have the role "CRM User." This role grants users the privileges to view and update most records, but denies the privilege to transmit. I only want 4 staff members to have the privilege to transmit, so I created a role entitled "Transmit" that only grants this privilege. All other privileges are denied. I can now add this role to the 4 staffers. These 4 staff members will have the privileges from both the CRM User and Transmit roles.
Create a New Role
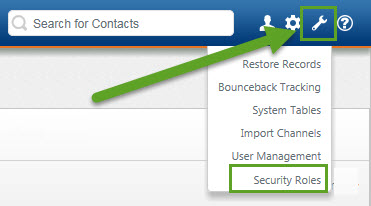
Select Tools (the wrench icon) in the upper right corner, and then select Security Roles.
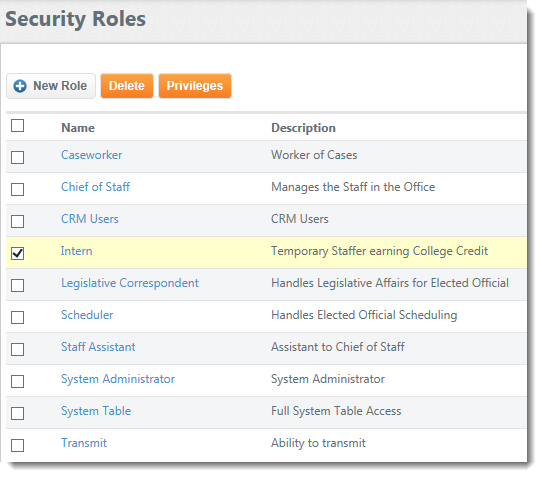
You will see a list of your current security roles. To edit an existing role, check the box in front of the role, and click the orange Privileges button that appears at the top of the list. To create a new security role, click the gray New Role button.
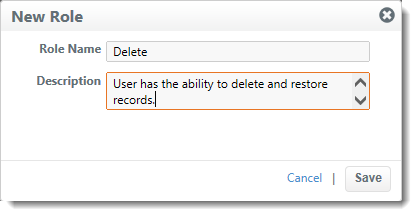
You will be prompted for a name and a description. Fill in the required information, and then click Save.
You will be returned to the list of security roles. Check the checkbox for the new role, and click the orange Privileges button that now appears at the top. You will see a full privilege list with all privileges set to Deny. Select Grant next to any privileges you wish to enable.
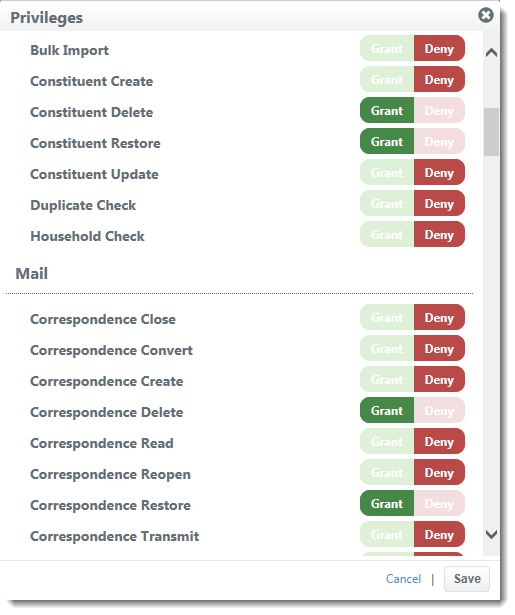
Then click Save.
Assign a Role to a Staff Member
To assign the new role to a staff member, go to Tools (the same wrench-shaped icon for Security Roles) in the upper right corner, and select User Management.
Click on the name of the user, and add the new security role to the record.
See our article "How do I add a new user account?" if you need to add a new staff member.
Comments
0 comments
Please sign in to leave a comment.