You can import your hard copy correspondence directly into the Scanned folder where you can then sort and process the mail. The Scanned folder can contain faxes, scans, and Digital Mail (U.S. House only). For instructions on importing scanned or digital mail, see our article How do I import scanned or digital mail?
NOTE: Contact support@iconstituent.com if you'd like faxes configured to import for your office.
Importing Your Faxes
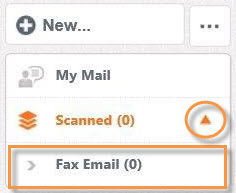
Select Mail from the top navigation menu, and then select Scanned from the left navigation panel.
- Expand the Scanned folder by clicking on the orange arrow.

- Select Fax Email.
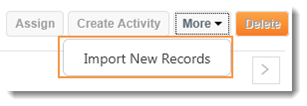
- On the far right, click the More button, and then select Import New Records.

- You will be asked if you want to import new files. Click Import.
Working in the Scanned Folder
You will see all of the records listed with the contact’s name, any default correspondence fields completed, and a small portion of the incoming message. On the right, you will see an arrow in each row pointing to the right.
- Click on the arrow to view the scanned image.
- To assign correspondence information to a record, select the row, and click the Assign button. (To assign values to more than one record, check all of the desired records, then click the Assign button.) Then click Save.
NOTE: For more information about assigning correspondence activity information, see the article How do I create new correspondence activities? - Once you have updated all the records and deleted ones that don’t need to be entered, click the Create Activities button. The records will then become correspondence activities, leave the Scanned folder, and appear in the assigned staff member’s My Mail folder.

Editing the Record Details
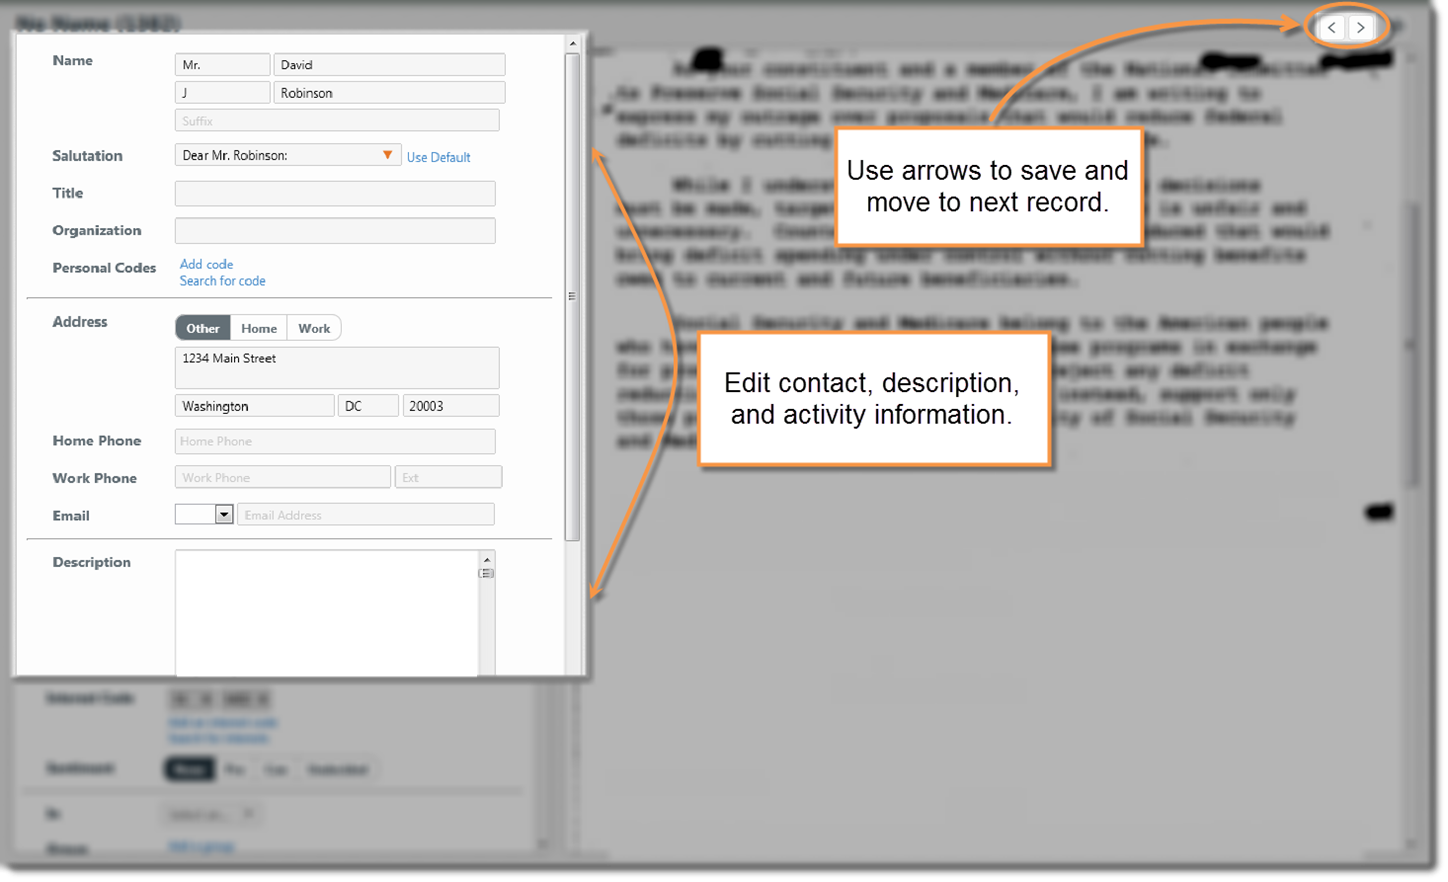
If you need to edit more information for the constituent or the message description, or if you want to see a larger image of the document, click on the contact’s name to open the record details.
- Complete the desired information for name and address, and edit any correspondence information.
- Click the Arrow on the top right to move on to the next record. (Your changes will be saved.) When you are ready to return to the list of scanned items, click the Save Changes button at the bottom of the form, which will save the changes to this record and close the window.

When you've finished making your changes, be sure to select the items and click the Create Activities button in the top right of your screen. Creating activities will send the faxes on to the assigned staff member or to the inbox (depending upon your office's configuration).
Comments
0 comments
Please sign in to leave a comment.