Note: This FAQ only applies to Form letters created with a usage of Correspondence (those created using Microsoft Word).
While having form letters that can go out to a large number of constituents is extremely useful, sometimes it's nice to include a little bit of personalization. You can accomplish this by including automatic merge fields or fill-in fields.
NOTE: Automatic merge fields take precedence over fill-in fields, so check the list of automatic fields first before creating your fill-ins.
First you will need to create a letter in the Letters module:
- Go to Letters.
- Click the New button and select New Letter from the drop-down.
- From the Letter Create Selection panel, click Letter.
- Enter a Letter Code and Description, then click the Create Letter button.
- Click the Add a field link that appears next to "Fill-In Fields" at the bottom of the form.
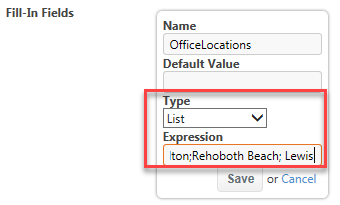
- In the Name field type the name of the fill-in (Do not use spaces or special characters when naming your fill-in field.) You will need to remember the name exactly as you've typed it for when you are editing the Word document.
- Next choose the Type of fill-in field:
- Short Text - allows for short answers to be entered into the fill-in (System Default); text character limit is 255; paragraph formatting (spacing) is retained.
- Paragraph Text - allows for multiple lines of text (paragraph) to be entered into the fill-in; not text character limit; paragraph formatting (spacing) is retained.
- List - allows for the creation of a drop-down list of values for staff to select values from. Enter the list of values in the Expression field and separate with a ";" with no spaces before or after.

7. Default Text can be added to all fill-in Types. If you would like a default value to auto populate enter it in the Default Value field above. If not, an empty field will display where staff can free type whatever information they're being prompted for.
8. Click the Save button.
9. Repeat this process for each additional field.
10. Click the Edit Letter button to open Word.
When Word opens, you'll see there are already merge fields for address and signature information. Click below the salutation and type the body of your letter.
- When you are ready to include a merge field, click on the Insert tab, and then select Quick Parts to see a small dropdown menu appear.

- Select Field.
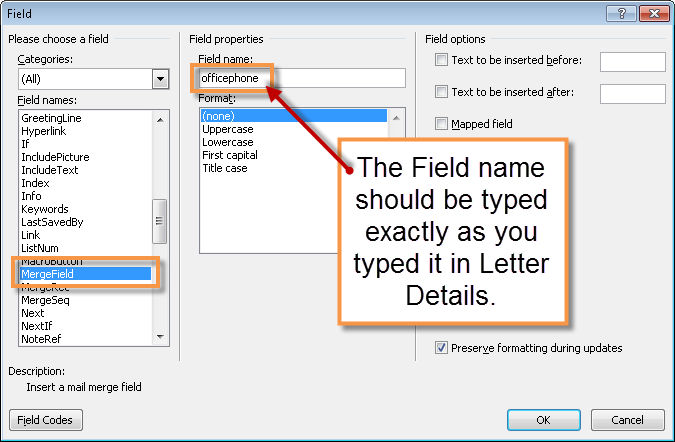
- The Field Dialog will appear. On the right, you will see a list of possible field names, scroll down until you see "MergeField" and select it.
- The Field Dialog will update with your change. In the top center, you will see a field labeled "Field name:" Type in the field name exactly as it appears in the Letter Details screen.
- Then click OK.

- Your new merge field will be inserted into the document.

- Repeat steps 1-6 for each additional fill-in field.
- After completing the document, save and close Word.
Finish your form letter as you normally would by checking in the letter and changing the letter status from draft to final.
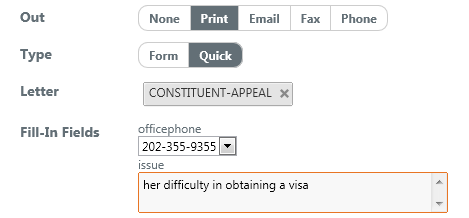
When you use your letter, you will be prompted for the fill-in fields. Complete the required information.

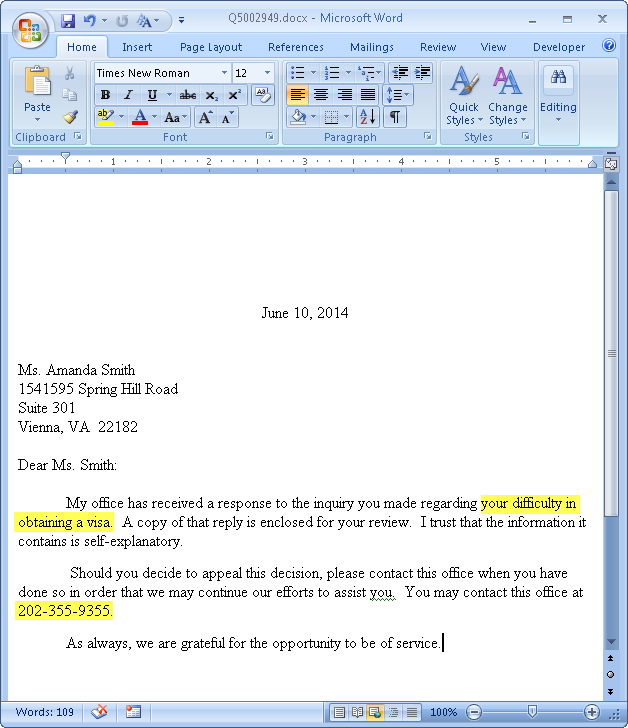
Whatever you select or type in will appear automatically within the body of your letter.

Comments
0 comments
Please sign in to leave a comment.