If your e-newsletter template was designed to be responsive, you will have a few unique pieces of content created by our team to re-use for each newsletter.
Reusing Content
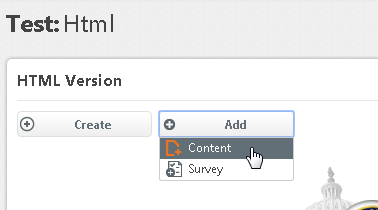
In the HTML step of the Mailing Wizard, click Add, and select Content.
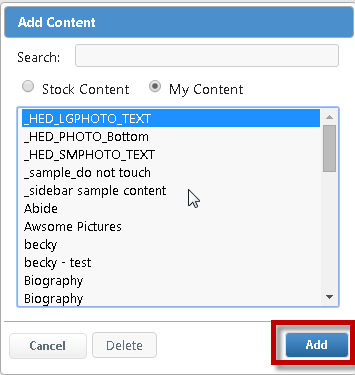
Search for the content created for you by iConstituent, select it, and click Add. (The names of these content items will differ for each account based upon your original design requests.)
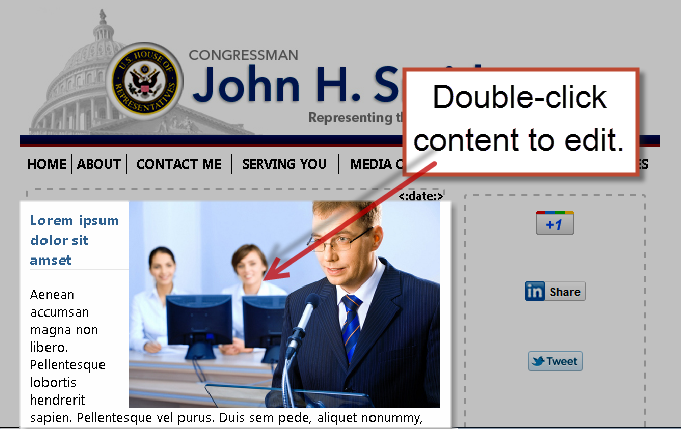
The content will appear in the Main Content area of your newsletter template. Double-click on the content to edit it.
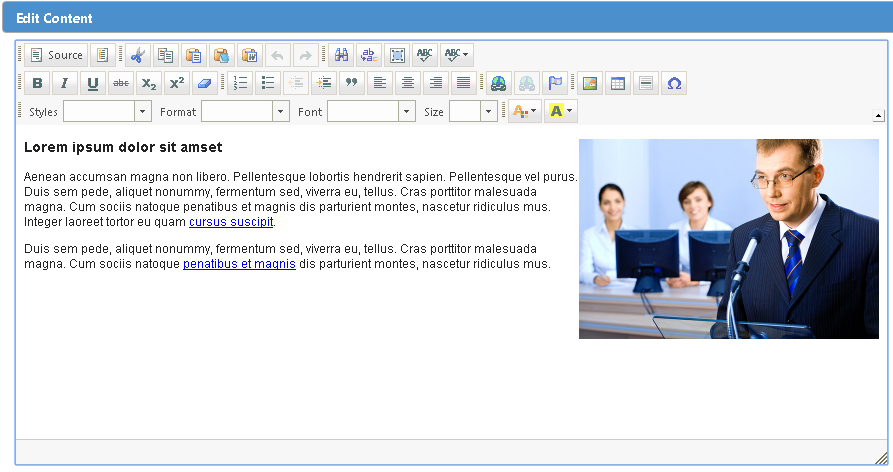
The WYSIWYG editor will open for you to edit the content.
Editing the Saved Content
Text and links
When working with saved content, you should be aware that the text is formatted a particular way. It could be the font color, style, or size is specific to the design of the newsletter. This is accomplished with code that appears at the beginning of the paragraph. With this in mind, you should not completely delete the entire paragraph. Instead, leave the first word in the paragraph. You can delete the remainder of the paragraph and either begin typing or paste new content using the "Paste as plain text" option.
In the example below, I clicked after the first word and highlighted the remainder of the paragraph. I then clicked the "Paste as Plain Text" icon on the toolbar and used CTRL + V to paste in text copied from another document.
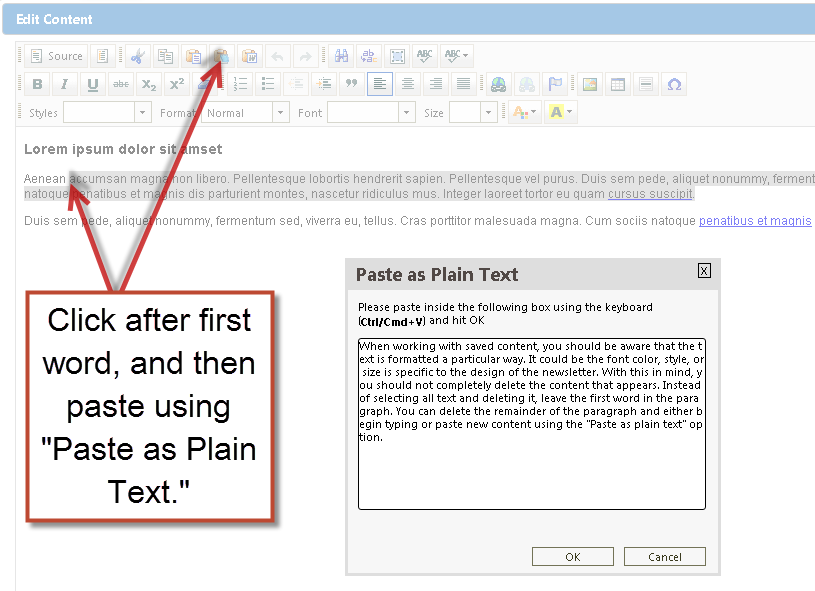
After adding your new content, use the Backspace button to eliminate the first word.
If you are replacing a hyperlink, you can right-click and select Edit Hyperlink.
Images
If the content you're using has an image that needs to be replaced, you should make sure you know the exact dimensions of the current image and edit the replacement image (using Paint or some other image editing software) so that it matches those dimensions BEFORE uploading it to the Constituent Gateway eNewsletter.
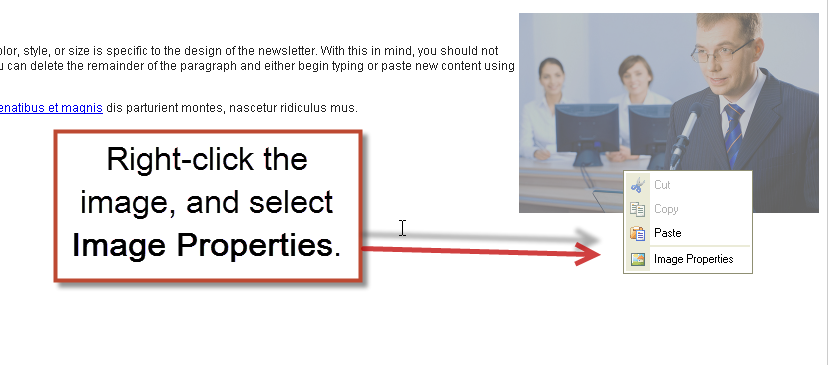
Start by right-clicking the existing image, and select Image Properties from the dropdown menu.
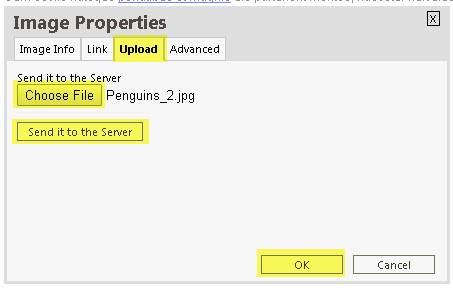
Select the Upload tab, click Choose File, find your file and select it, click Send it to the Server. If you are still on the upload tab,click OK. You should now be back on the Image Info tab. (NOTE: As always, be sure there are no spaces or special characters in the file name.)
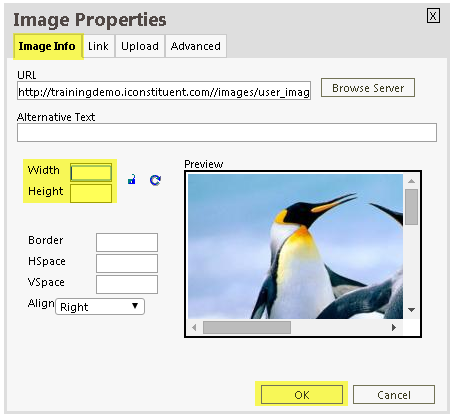
After uploading the image, remove the width and height from the image properties.
NOTE: For optimum results, go to the Source code and add the width as a percentage as in the example below.

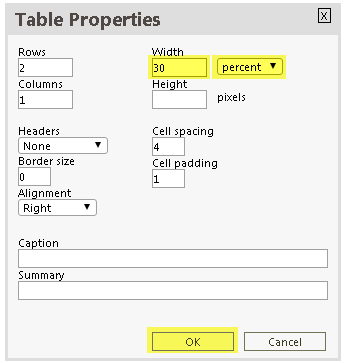
NOTE: In cases where a table is used for a caption, the table with will have to be set to a percentage rather than a pixel width.
After making changes to your content, click Save to see it appear in the e-newsletter template.
NOTE: It is a good idea to send a test newsletter to different email service providers to see how the mailing will appear in each. For example, send a test to your Outlook email and to your personal Gmail or AOL account.
Comments
0 comments
Please sign in to leave a comment.