
NOTE: The Mailings tab is being enabled one office at a time. If you do not yet have Mailings enabled, email support@iconstituent.com. This functionality is not offered to our U.S. Senate clients.
The Mailings module allows you to create and send digital, high volume, email communication natively from CRM with managed IP addresses, full and real deliverability tracking, and all the benefits of the Constituent Gateway eNewsletter platform.
Select Mailings from the top navigation menu.

Then click the New Mailing button on the left navigation menu.

This will start the mailing wizard which will walk you through the process of creating a new mailing. You will be able to track your progress with the Progress Bar that appears across the top. Your current step will be highlighted in blue, and you can access other steps from the bar, as well.

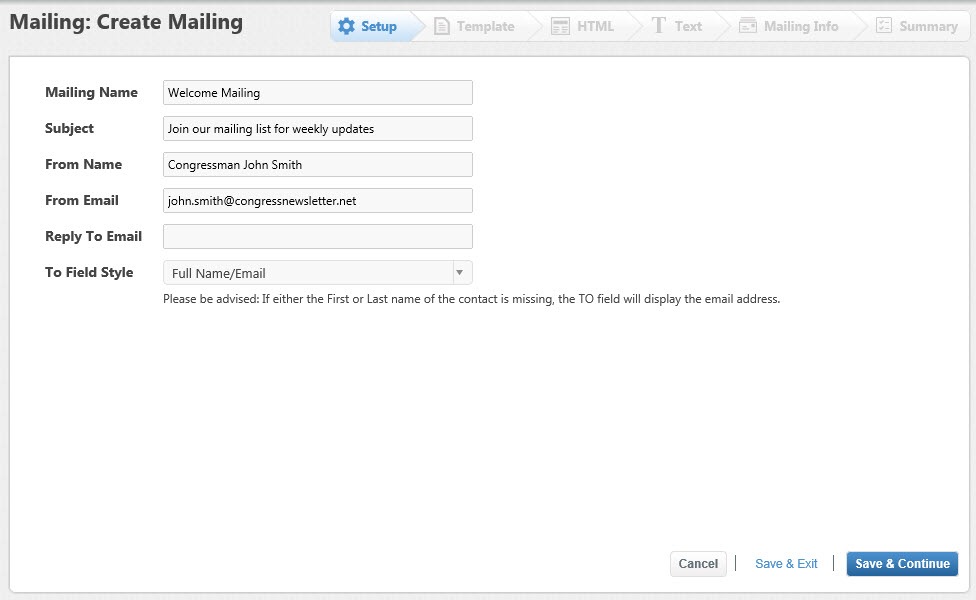
- Setup - You will need to give your mailing a name and a subject line. The mailing name is internal, so only those who log into the CRM or the Gateway will see this. The subject line is visible to the public. Keep in mind that a well-written subject line will entice readers to view your mailing. Leave the from information as is.
Click Save & Continue to move on to the next step. - Template - Select the appropriate template, and click Save & Continue to move on to the next step.
- HTML - This is the step that you will spend the most time in. This is the step where you will create and organize your newsletter content. (Don't forget to employ best practices when setting up your mailing. See our article How can I optimize my content for delivery? for helpful tips.) You will see a representation of your mailing with empty content areas outlined in gray and a number of options to adding and editing your content.
- Add Content - Click Add and then Content to add saved content to your mailing. This content includes your e-newsletter signup widget, tell-a-friend widget, and various social media options. (These items can be used to track viewer interaction.) Simply select the item(s) you want to include, and click Add. They'll display in the main content area.
- Create New Content - Click Create and select Content to create new content. A new text box will appear in the main content area. Click the Edit button to open up the WYSIWYG editor and add in your content.
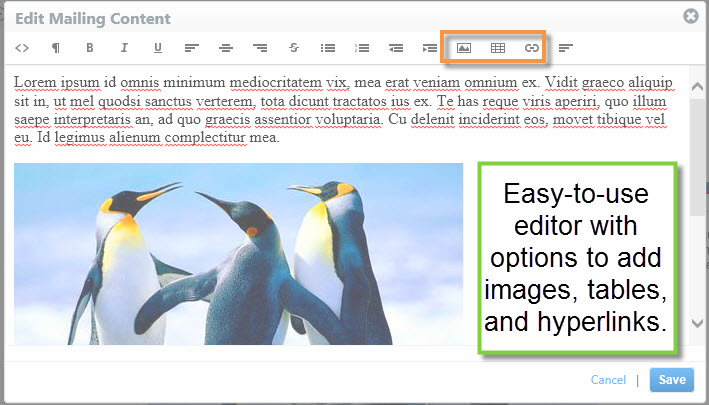 Be sure to click Save regularly. (See our Gateway eNewsletter articles How do I create new content for a mailing? and How do I add a photo with a caption to an e-newsletter? for more detailed instructions.)
 - Rearrange Content - You can drag and drop content into any content area and it will automatically resize to fit.
- Preview - Click the Preview button in the upper right to preview what your finished newsletter will look like.
- Continue - When you've finished setting up your newsletter, click the Continue button in the bottom right corner to move on to the next step. You will be asked if you want to edit your text version. Click Yes.
- Text - The text version is the version of the newsletter that people will receive when using devices that don't display HTML. Images, surveys, or other interactive items will not display. You can edit the text version so that it only displays readable text for your viewers. (It will not affect your HTML version.) Click Continue to move on to the next step.
- Mailing Info - This step is where you set up the delivery of your mailing.
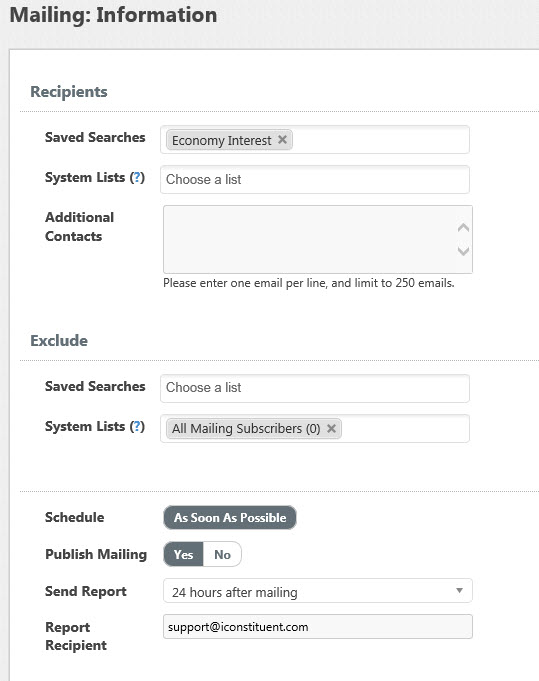
- Recipients - The contacts who will receive your mailing.
- Saved Searches - Add the names of saved searches that you've created in the Contacts module. If you have not yet created a saved search, click Save & Exit, and go to the Contacts module to create a saved search. When you are through, you can pick up where you left off by selecting the orange bubble under "Mailing Info."
- System Lists - Add the names of the default Gateway lists you'd like to send to. These include All Contacts, All Subscribers, All Viewers, and Website Sign up.
NOTE: If you have created additional lists in the Constituent Gateway eNewsletter platform, they will not be available in the Mailings module of the CRM. - Additional Contacts - Add individual email addresses to this field if there are a few contacts you'd like to receive this newsletter who are not on one of your other lists. Enter one email address per line.
- Exclude Lists - You also have the option of excluding lists if you want to ensure a certain list does NOT receive the mailing.
- Publish Mailing - You can choose to publish your mailing to a public newsletter web page that can appear on your website. This option is automatically selected, so if you opt not to publish this mailing, then uncheck the box.
- Send Report - You can also elect to email a report to specified staff. (Keep in mind that you can access your reports at any time when you log into the CRM or the Gateway.)
- Click Save & Continue to move on to the next step.
- Summary - The summary gives you a quick break down of everything you've set up. This is a good opportunity to review and make sure everything is set up correctly. You can edit any section, and if anything is left undone, it will appear at the top in orange. Resolve any outstanding issues. (You will be notified via email when your final list of recipients is ready.) After all issues are resolved and your final list of recipients is ready, you will be able to approve your mailing.
NOTE: If email addresses have not been validated in the last 12 months, the e-newsletter will not be sent to those addresses to protect your email delivery reputation. Validation occurs when an email interaction occurs elsewhere in the CRM (i.e. Correspondence or Casework Activities) and upon new import.
Once you have completed all tasks, click the orange Approve button.
An important note about sending a test mailing:
Test! Test! Test! You will not be able to approve your mailing until you have completed every step, including sending yourself a test. You might need to send multiple tests if you go back and make changes. It is extremely important to check your tests before approving your mailing. You will see that your mailing might look a little different than expected when it comes into your Outlook inbox versus your Gmail, for instance, so it is also a good idea to send a test to different email accounts.
- Click the Resolve or Send Test button.
- A small dialog will appear with your email address in it. If you plan to send your test to multiple email addresses (recommended), then add a comma with no space after it, and type in the second email.
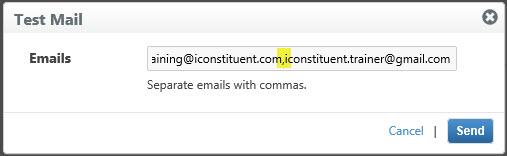
- Click the blue Send button.
- A short time later you will receive both the HTML copy and the text version. Preview them both, test links, etc.
- Go back and make any necessary changes, and send a new test. Repeat steps 1-5 until you are satisfied with your results.
- Once you are satisfied with your tests and your final list of recipients has been compiled, then click the Approve button.
Comments
0 comments
Please sign in to leave a comment.