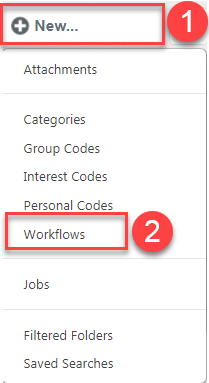
Workflow is an electronic approval process that operates within the program. Workflows can be applied to individual activities, to form letters, or to casework. Each workflow definition contains the steps of the office’s approval process for a particular task. As one step in the process is completed, the item will move to the next assigned staff member.
Creating a new Workflow
Mail, Services, and Letters all have workflow options. To create a new workflow:
1. From the left navigation panel, click the ... (Show all folders) button.
2. From the drop-down menu, select Workflow.

3. The Worklfows window opens, click the New Workflow button.
4. A New Workflow dialog opens, enter a Name and a Description. Often workflows are named for the people in the workflow, but they can be named however the office chooses.
5. Click the Continue button.
6. The form will expand and will include the first two steps. The first step will be labeled “Start,” and the second will be labeled “First Action.”
![]()
7. Leave “Start” as it is, and make sure the correct staff member is assigned the task of starting the workflow. You can change the staff member by clicking the Edit icon.
8. Change “First Action” to the first step of the process. In the example below, the first step is to “Approve Letter.” Click on the Edit icon to change the task. You can also edit the number of “Due in Days,” and who the task will be assigned to. Click Save.
9. Click Add Step link to add additional tasks, and above steps until the workflow is complete.
10. Click the Save button.
Comments
0 comments
Please sign in to leave a comment.